This afternoon I met Wendy at the National Art school to visit the screenprint studio. Screen printing is the technic that she use to produce all her artworks (Minigraff website here). This is interesting to see how it works :-)
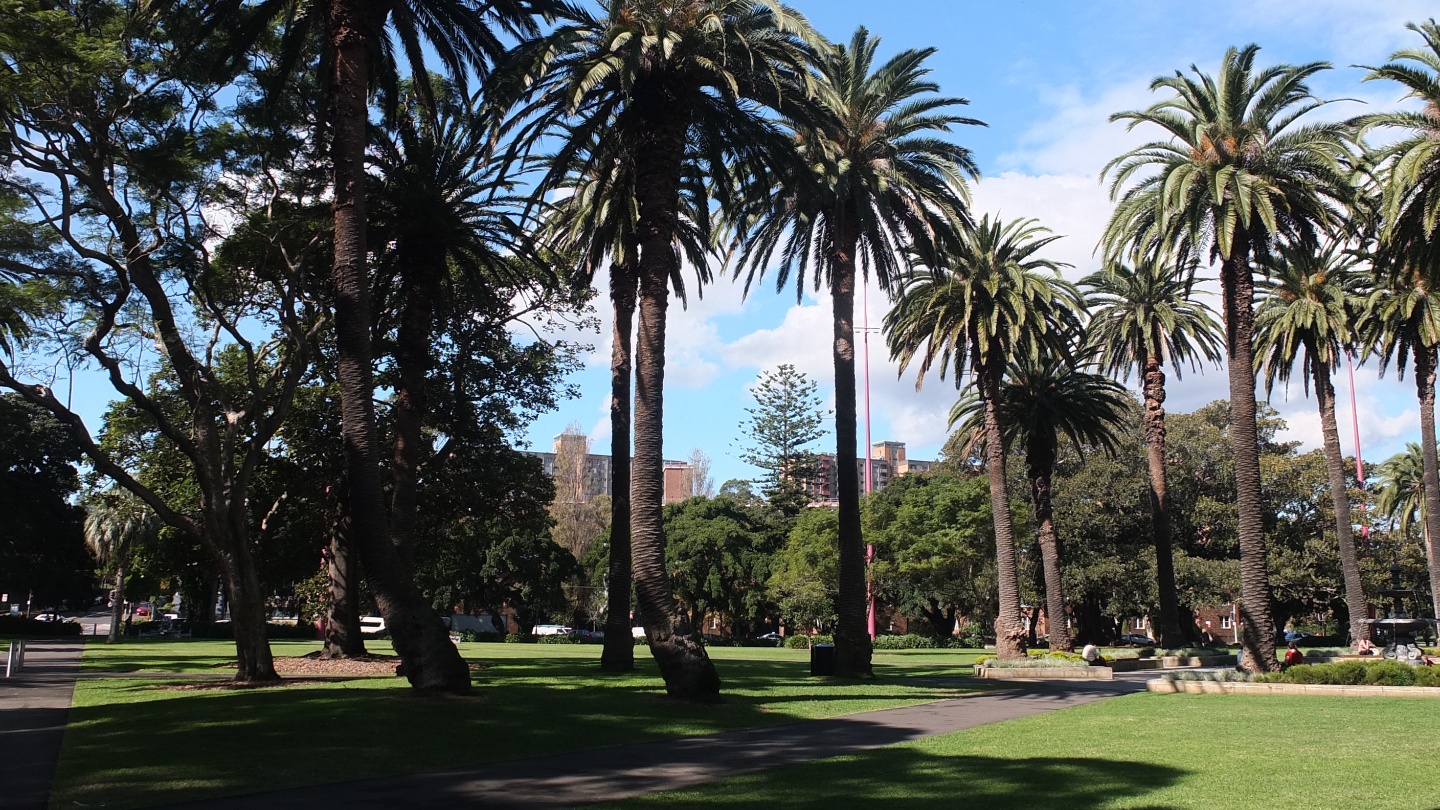
I’m now cycling from Newtown to the school so I can discover new parts of Sydney.

This street is Crown street and it’s very looong. I’ve seen a nice “French style” bakery where I should come back one day to try.
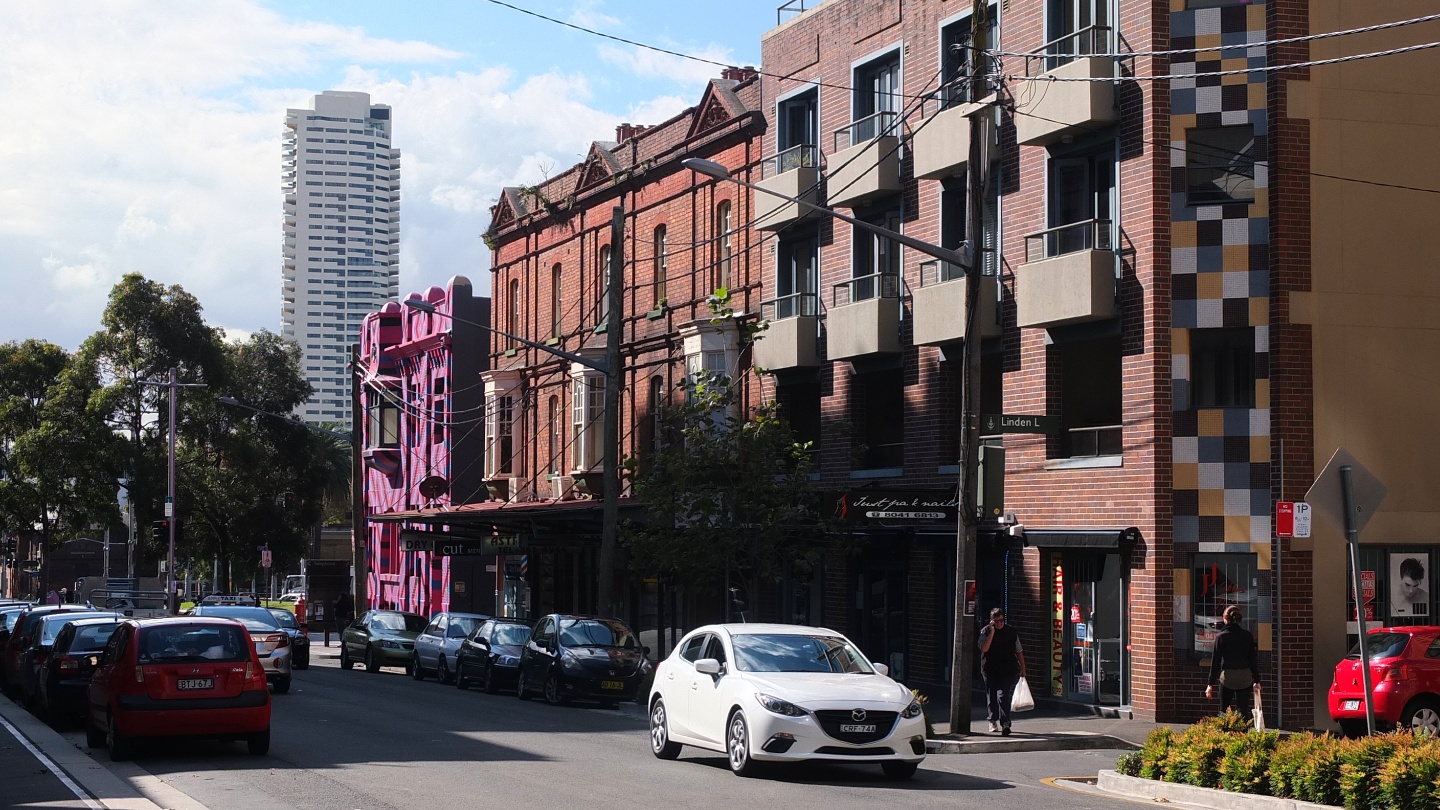
This is Bourke street. It’s not necessary a famous one, I’ve no idea but the buildings are colourful :-)
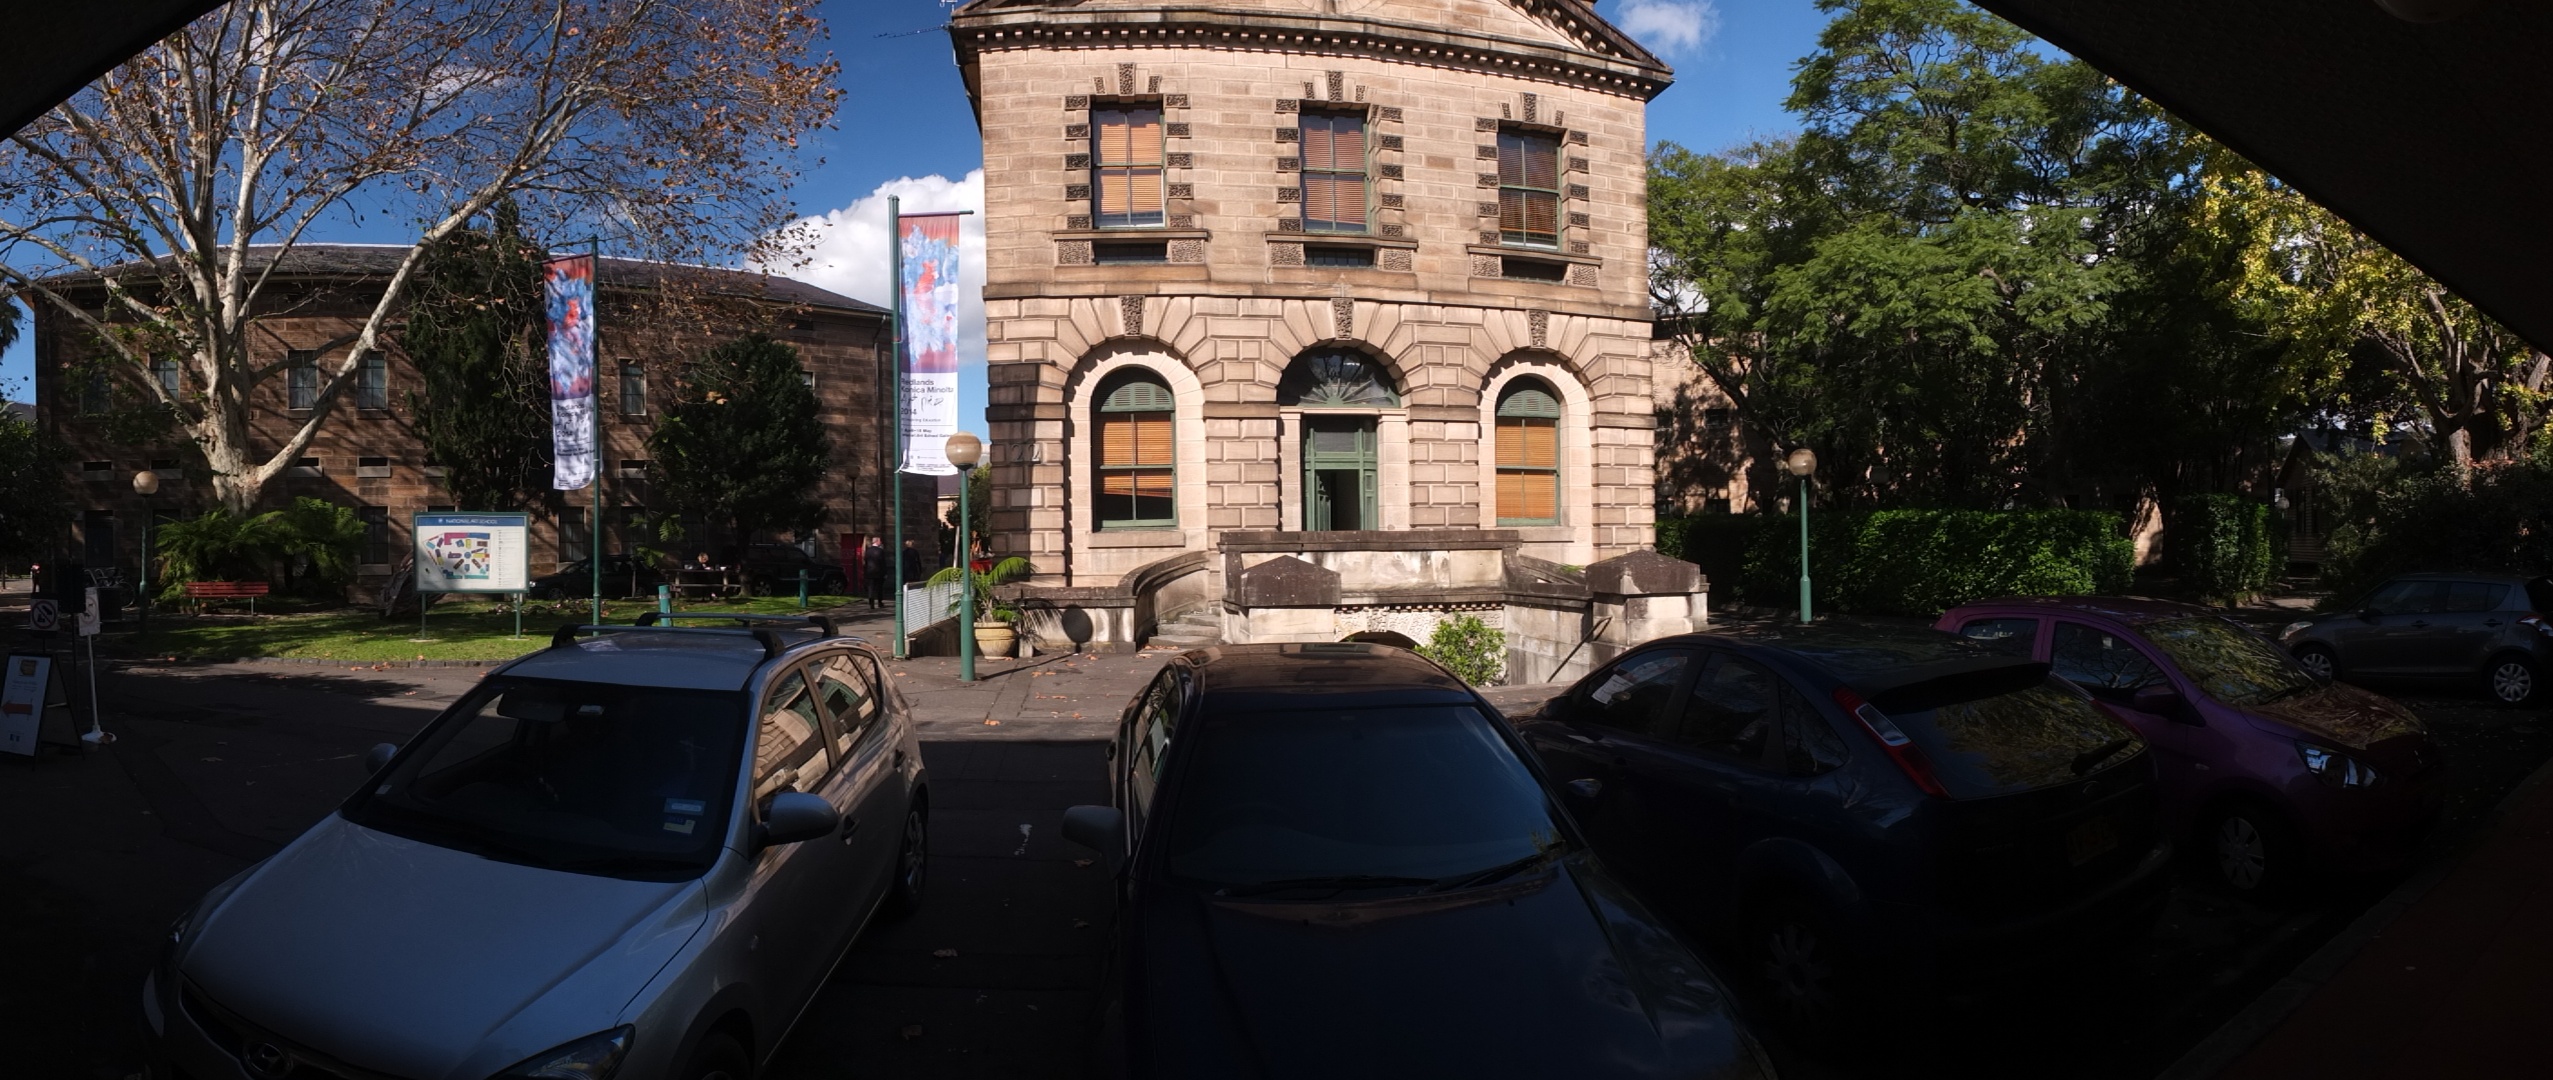
I’m perfectly on time at the National art school :-)
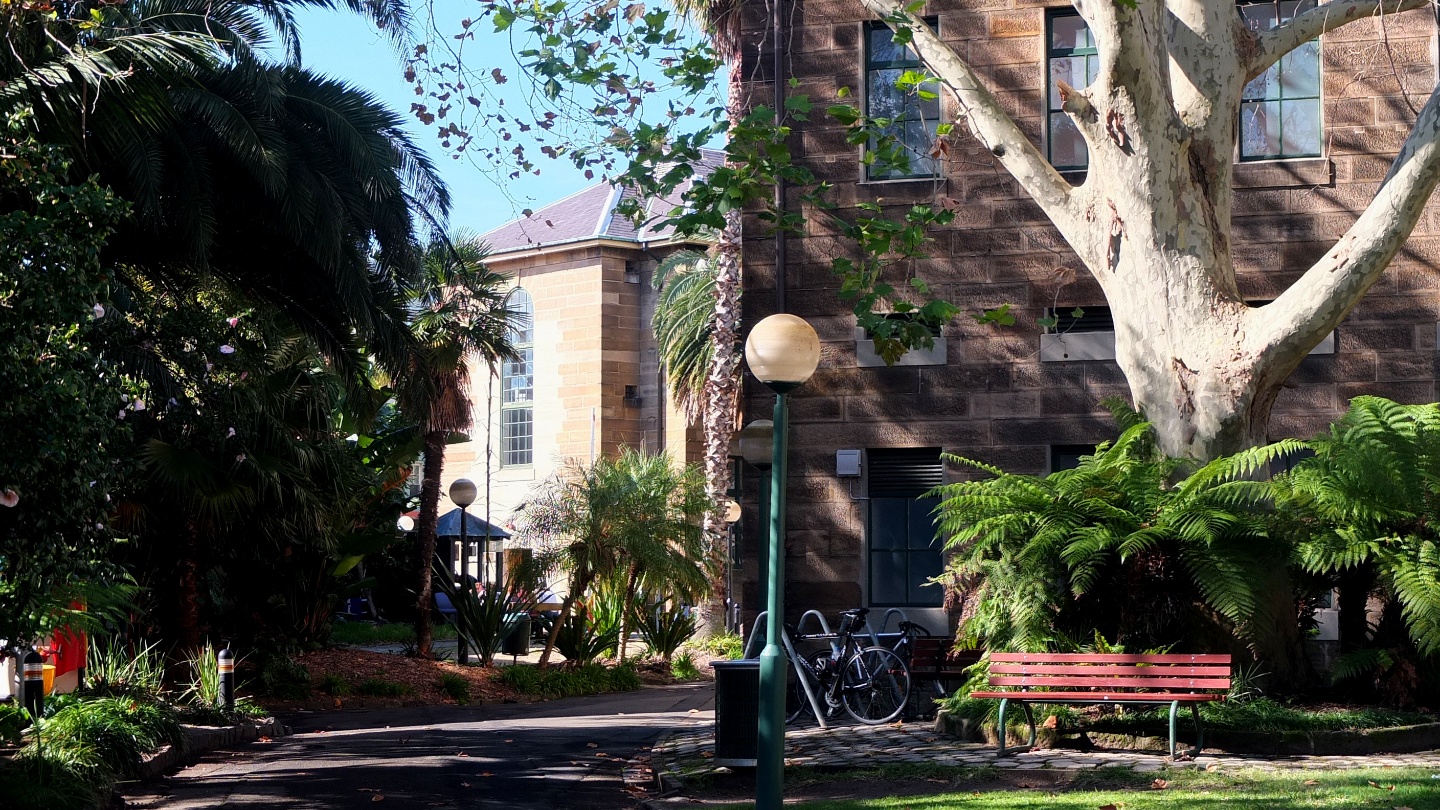
Very nice. The old stone buildings and the trees give a comfortable view until you discover that this place use to be a prison…
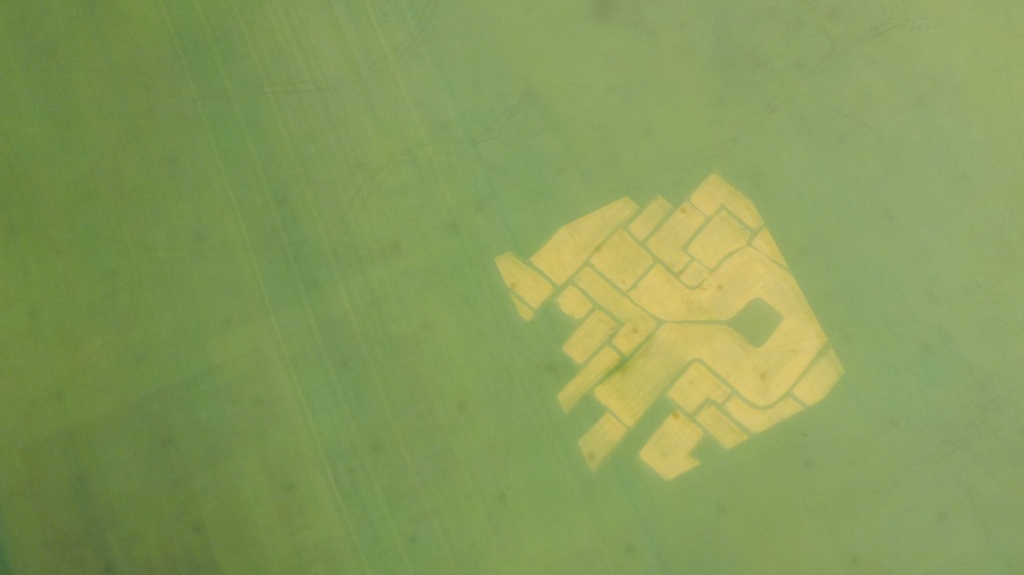
From a top view, you can clearly see the disposition of the buildings. The tower in the center use to be use to keep an eye on the others around. Today it’s a gallery.
Even, if you turn the map about 110 degrees anticlockwise you can read “YO”. It might be a cool prison at this time.
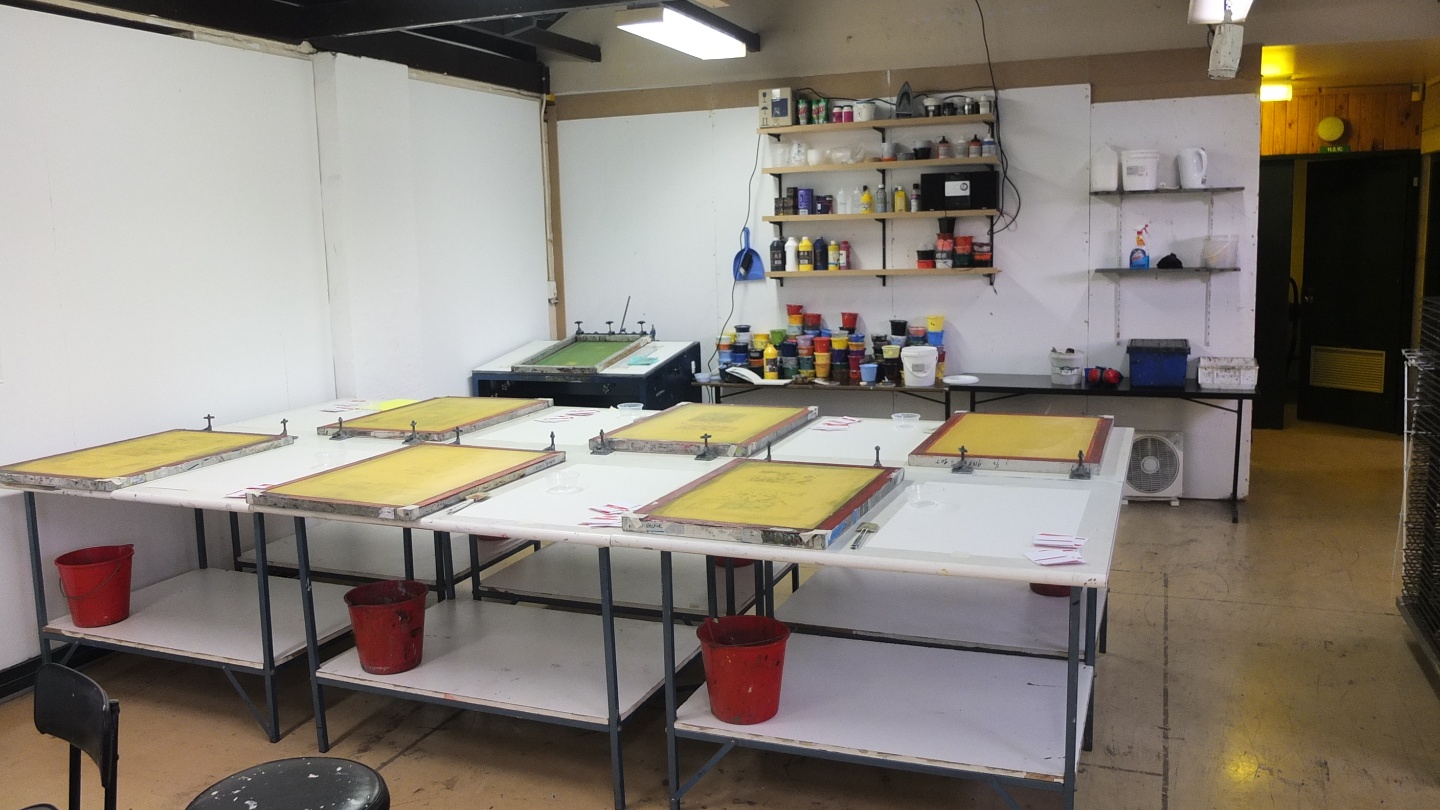
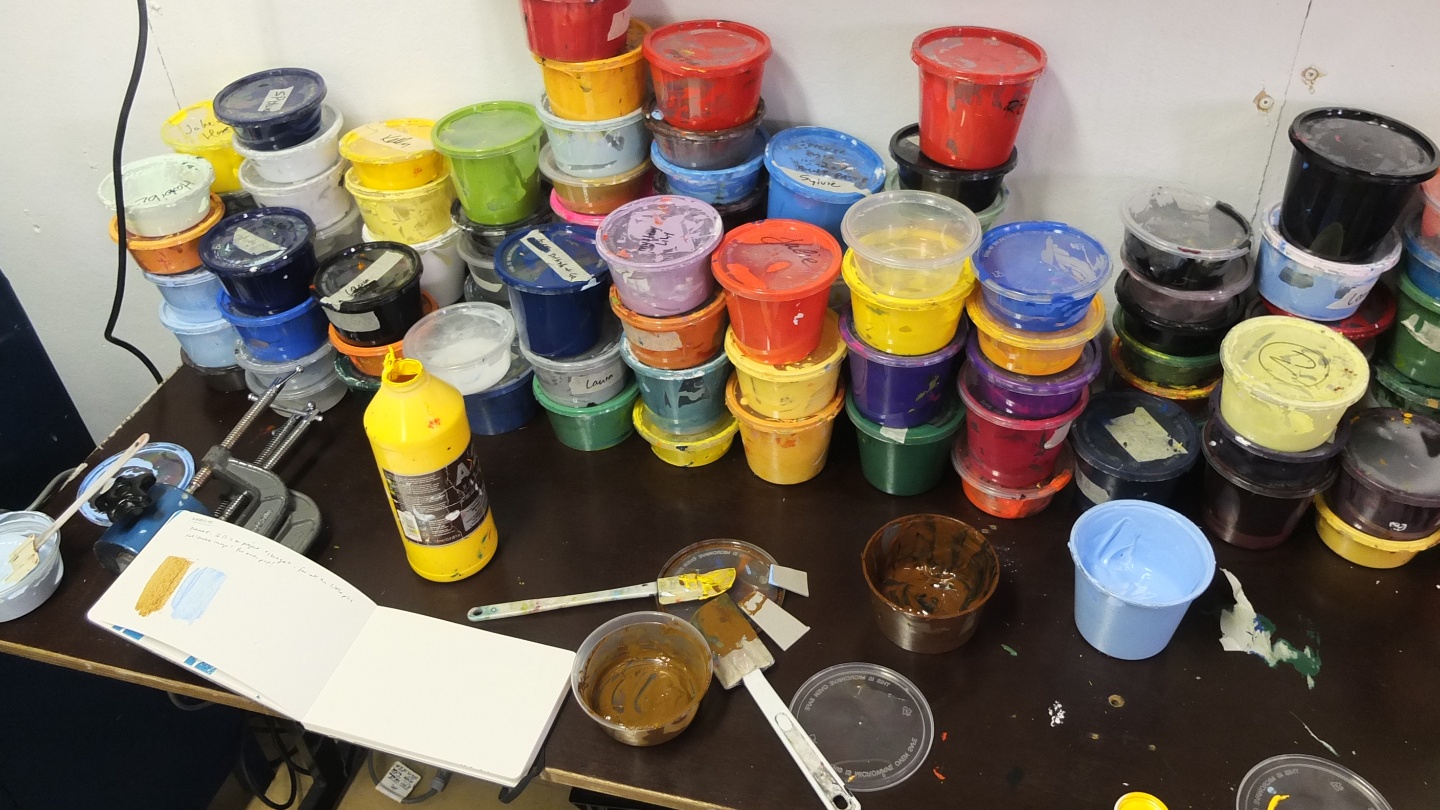
This is the screenprint studio :-) and these frame with the yellow colour are actually the screens which are use for printing. Wendy planned to print some stickers today and will show me all the process. How lucky I am :-)
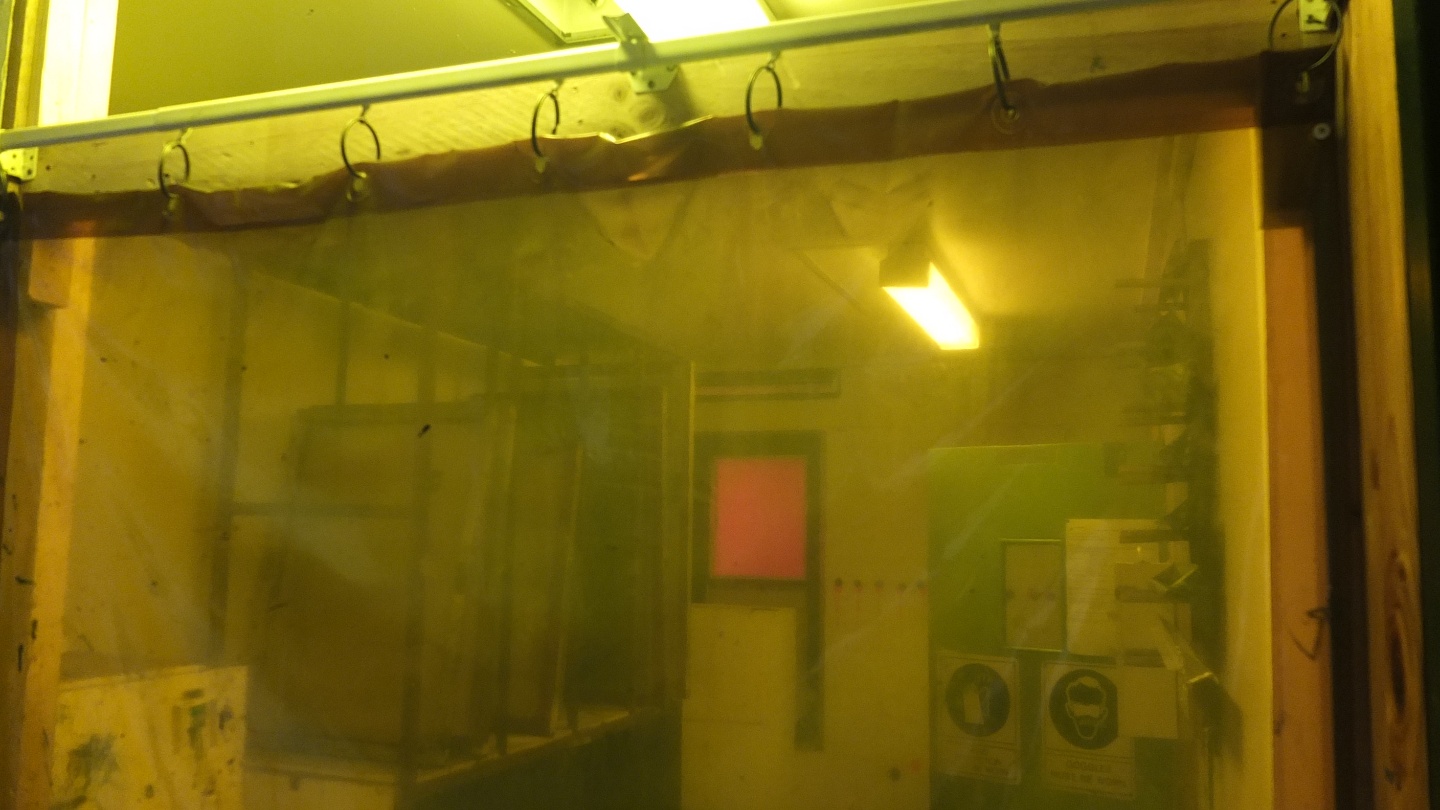
01 / First step, we take how many screen we need (two in our case because we have four draw) and we apply a thin chemical layer on them. Then the screen stay in that special “light safe” room for drying.
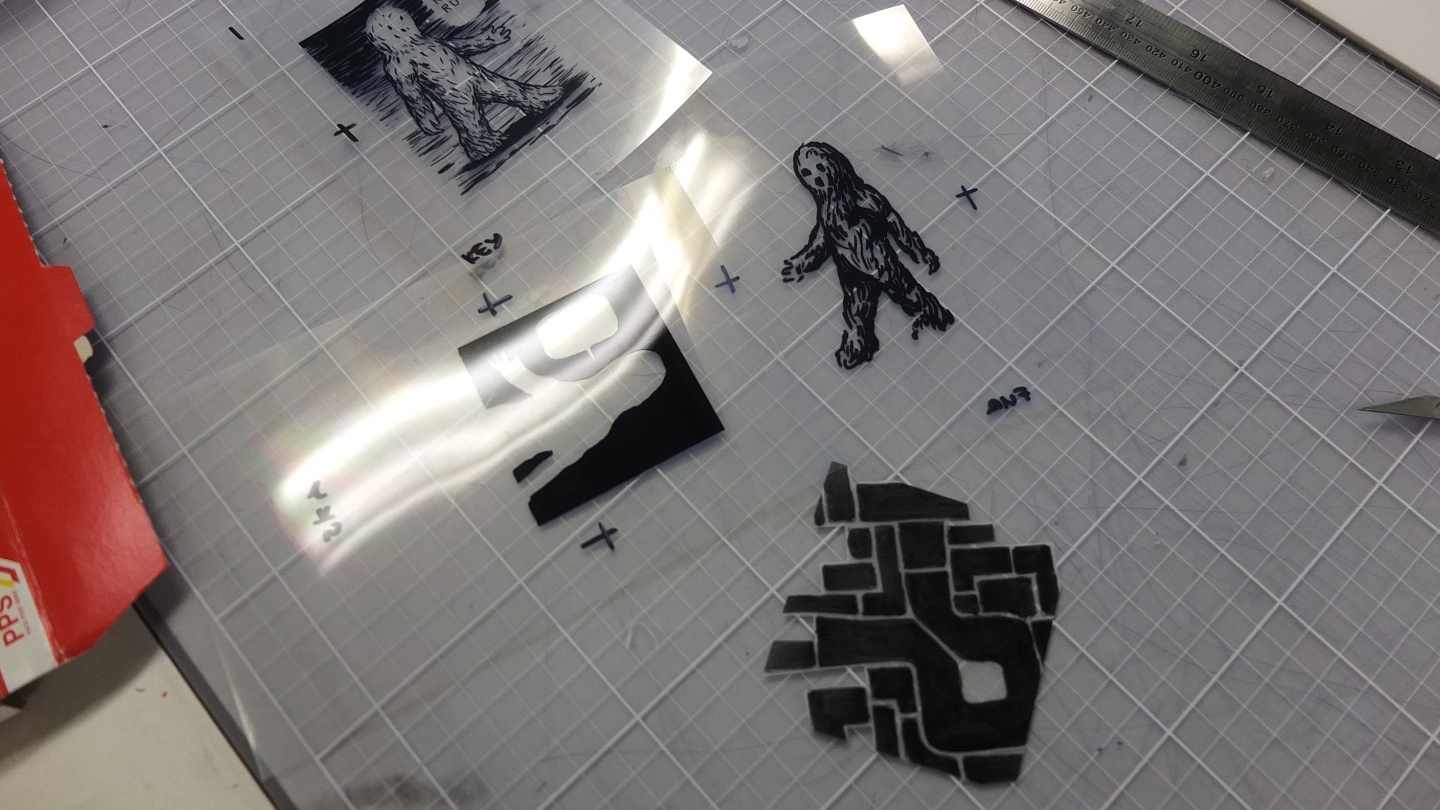
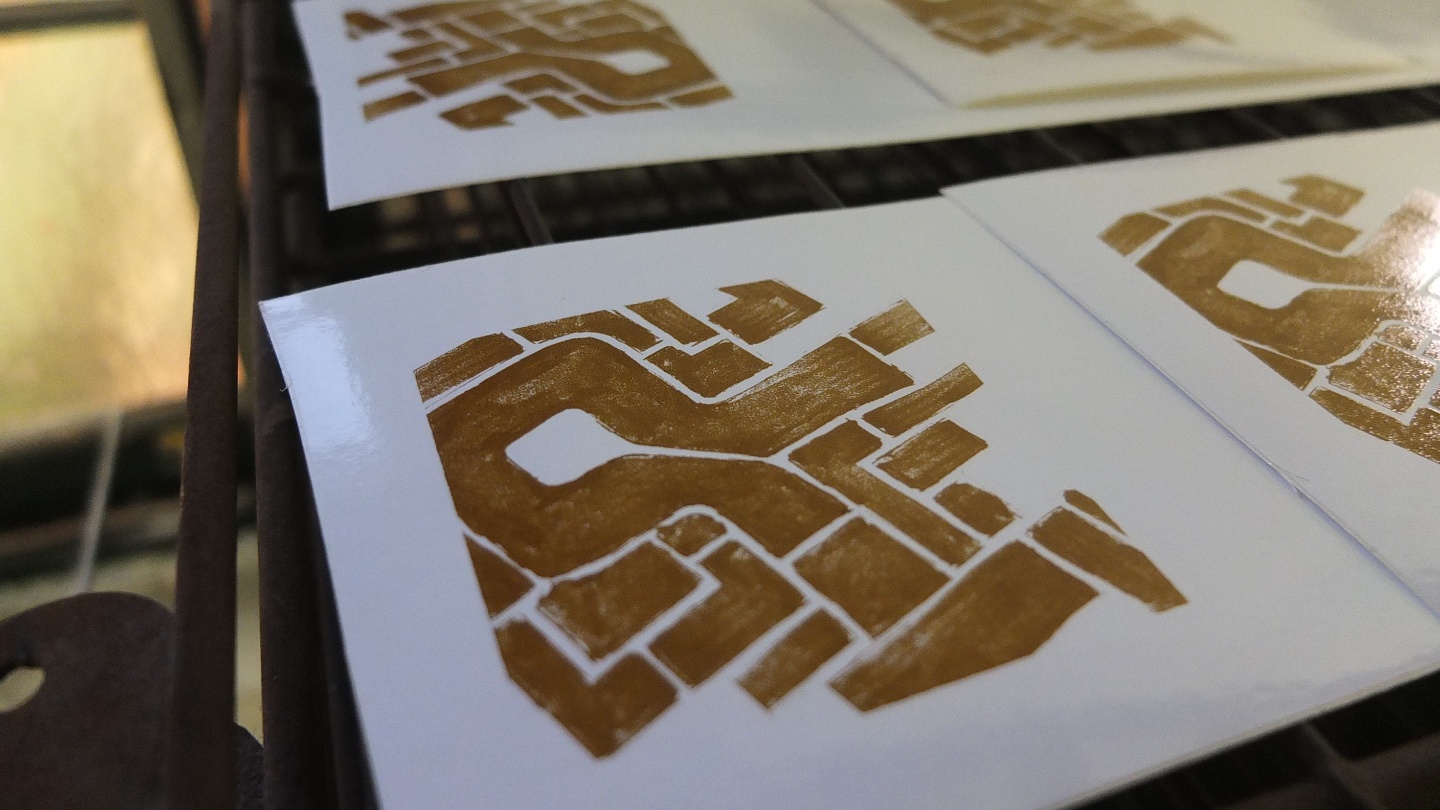
02 / Second step , during that time we draw something on a transparent paper. Each future colour must have its own draw. This is why basically its a long process. In that case, the three Yeti drawing on the top are going to become one draw at the end with three different colours.

03 / Third step, the light room. On the left side, the kind of TV is actually a light, a very powerful one. One the right side, there is a glass table which is going to receive the screens and the drawing. The goal is to projet the drawing onto the screen using the power of the light. This is how screenprint works. In order, we position each drawing onto the glass. Then we cover two drawing with one screen. We close the black cover and then a system sucks all the air so nothing is going to move. When it’s ready the table is positioned vertically front of the light for about 5 minutes.
04 / Fourth step, when it’s done, the screen needs to be clean with a special product and water. Now we can use it for printing!
The original screen is a kind of tissue but very very thin. By applying a special green layer on the screen and using the power of the light, its surface became like waterproof. The part where the drawing stood has protected the green layer from the light. That means we could wash this area and keep the original texture of the tissue.
05 / Fifth step, hmm, well… Which colour are we gonna use now? We needs three different colours for the yeti and one or two for the other drawing.
06 / Sixth step, we print. Unfortunately I did not take any picture but I’m going to try to describe the “machine”. It’s like a table with many tiny holes in it which suck air. Now, in order, we put the final paper we want to print on onto the table, then the screen acting like a mask and finally we apply the paint on the top. By pressing the paint with a tool onto the screen, the table sucks the paint thought the screen (the mask) and let appears the final drawing onto the paper.
07 / seventh step, tadaaa!
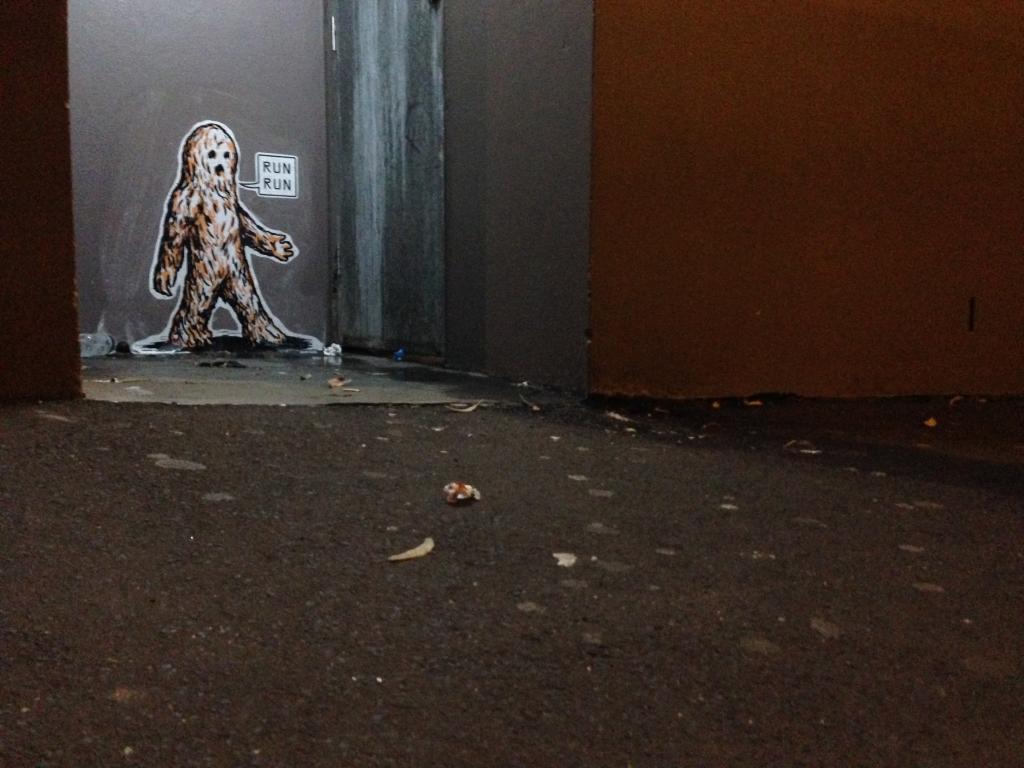
08/ And here the real result with a bigger sticker. The original drawing was scaling up and screenprinted in three colours.